
DEP User Guide
DEP, the DEVlink Engineering Platform, is a Windows desktop application. You use it to build a test system from models, software and virtual networks, run it as model-in-the-loop (MIL) or software-in-the-loop (SIL), check its behaviour with scenarios, and keep the evidence. This guide explains every workspace step by step, with screenshots of the real application. You should be able to use DEP without any other help.
Start here
New to DEP?
Read What Is DEP for the ideas behind projects, Systems and profiles. Then take the Tour of the Studio.
Install
Install and Activate covers verifying the installer, the setup wizard, the first launch and how to install a licence.
First 30 minutes
Run a complete MIL charging session in First Session: Charge 20 → 80 %. Then wire your own system in Build Your First System.
Something went wrong?
Start with Troubleshooting. If DEP shows a code such as DEP-RUN-OWNER, look it up in Diagnostic Codes.
Find a task
| I want to… | Go to |
|---|---|
| Open an example, or keep my projects in one folder | Starter Projects, Projects, Files and Recovery |
| Add components, connect ports and set input values | System Engineering |
| Draw a block-diagram model and make it executable | Model Designer |
| Model an electrical circuit or a battery pack | Physical Model Designer |
| Design a state machine | State Logic |
| Import an FMU, an SSP package or customer software (vECU) | Software, FMI and SSP |
| Simulate a CAN bus from a DBC file | Networks and Restbus (CAN) |
| Run, pause, step and stop a simulation, and read the results | Running MIL and SIL |
| Compare my model with compiled software | From MIL to SIL |
| Write automated test cases and export JUnit | Scenarios, Campaigns and Evidence |
| Build an operator screen with gauges and buttons | Operator HMI |
| Simulate an EV charging session | Charging and the EVSE Console |
| Connect an NI VeriStand HIL bench | HIL Runtime and NI VeriStand |
| Install a licence or understand the editions | Licensing and Editions |
How to read this guide
- Text in bold navy is a label exactly as it appears in DEP, for example Check or Run in MIL and SIL. A path such as System → Model Designer means: click System in the left sidebar, then the sub-item Model Designer.
- Keys are shown as Ctrl+K.
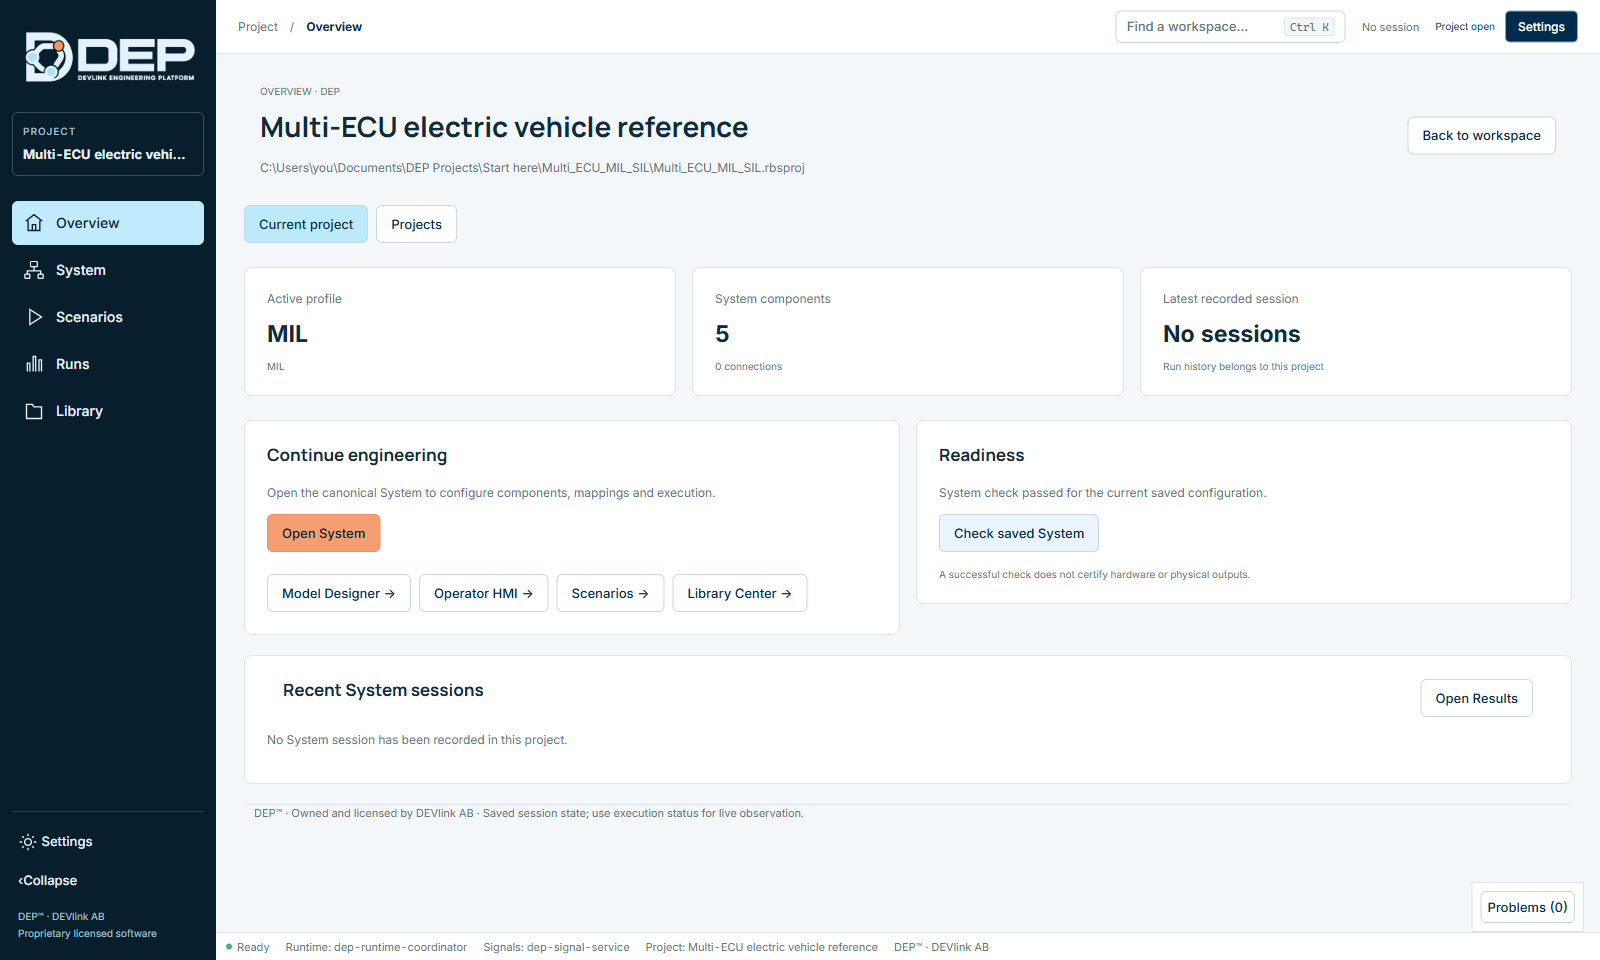
- The screenshots show DEP running the bundled starter projects. Click a screenshot to see it at full size.
- Green boxes are tips. Blue boxes are notes. Red boxes are warnings that protect your work or your bench.
- Press / on any page to search the whole guide. Search works offline.
What DEP covers. DEP runs MIL and SIL locally, in logical (simulated) time. It does not connect to or drive hardware. For HIL, DEP works with an NI VeriStand bench, which provides the real-time execution and the I/O. Capability Boundaries lists what DEP does and its limits.