
Install and Activate
DEP installs per Windows user and does not need administrator rights. Setup takes about two minutes. This page covers checking the installer and installing DEP, then the first launch and installing a licence. It also covers upgrading and removing DEP.
System requirements
| Item | Requirement |
|---|---|
| Operating system | Windows 10 or Windows 11, 64-bit (x64). Windows on ARM, 32-bit Windows, macOS and Linux desktops are not supported. |
| Account | A normal (standard) Windows account. No administrator rights are needed to install or run DEP. |
| Screen | At least 1280 × 800. The DEP window cannot be smaller than 1180 × 720. 1600 × 1000 or larger is recommended for the multi-panel workspaces. |
| Disk | About 500 MB for each installed version, plus space for your projects. Projects with long recordings can grow to several hundred MB. |
| Other software | None for the bundled examples, except Stateful BMS with SIL Kit (needs a SIL Kit peer) and ChargeLink EVSE (needs ChargeLink). You do not need Node.js, Python, Rust or a compiler. |
Some optional integrations need software that DEP does not install:
| Integration | You install separately | Chapter |
|---|---|---|
| Live ISO 15118 charging sessions | A compatible ChargeLink executable plus its TLS certificate, key and CA files, and an IPv6 network interface | Charging and the EVSE Console |
| NI VeriStand provider | NI VeriStand 2024 Q4 with its Gateway, the NI Client API, Windows PowerShell 5.1 and .NET Framework 4.6.2 | HIL Runtime and NI VeriStand |
| SIL Kit participants | A SIL Kit registry and the peer participant | Software, FMI and SSP |
| Rebuilding native models into new executables | Not needed for Prepare for System on the bundled reference models. Rebuilding the vECU templates from source needs Rust and the Visual Studio C++ build tools. | Model Designer |
1. Check the installer
DEVlink delivers DEP as one setup program, for example DEPSetup-<version>.exe, together with a checksum file of the same name ending in .sha256. Check that the file was not damaged or changed on the way. Open PowerShell in the download folder:
Get-FileHash -Algorithm SHA256 .\DEPSetup-<version>.exe
Get-Content .\DEPSetup-<version>.exe.sha256
The two 64-character values must be identical. If they differ, do not run the file. Download it again or contact DEVlink.
Windows SmartScreen. If Windows shows Windows protected your PC, continue only after the checksum matches: select More info → Run anyway. If you are unsure, contact DEVlink before you run the file.
2. Run the setup wizard
Double-click the setup program. The wizard has six steps.
- WelcomeShows the product and version. Select Next.
- LicenceRead the licence agreement. Next is available only after you accept it.
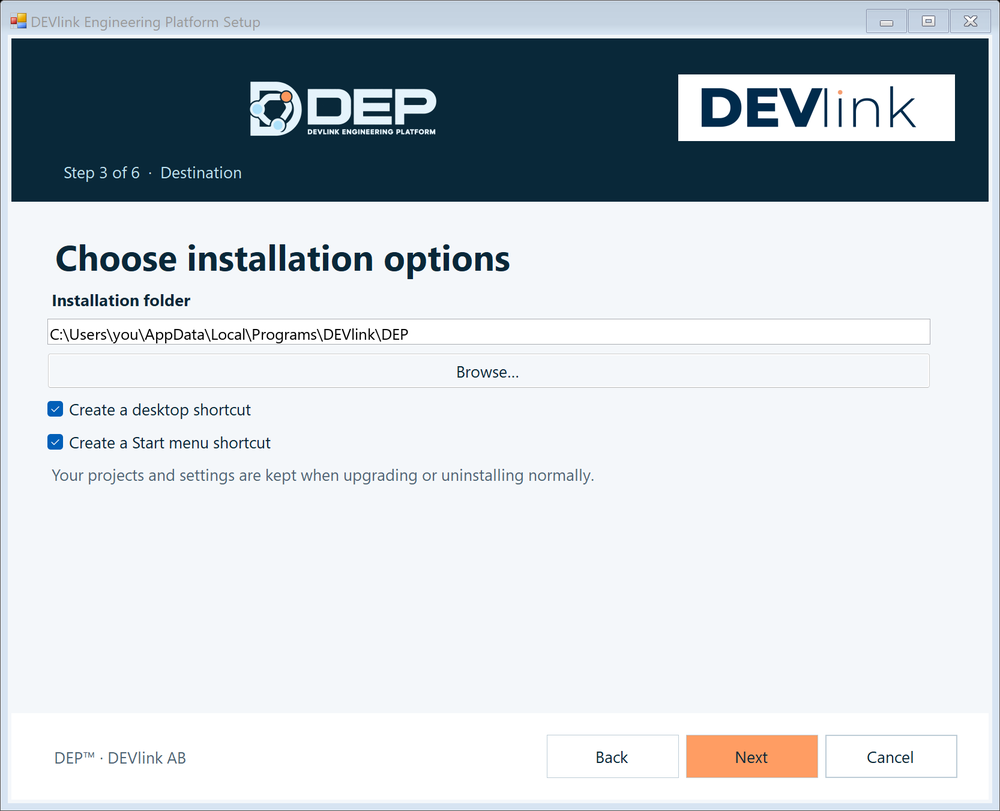
- DestinationThe default folder is
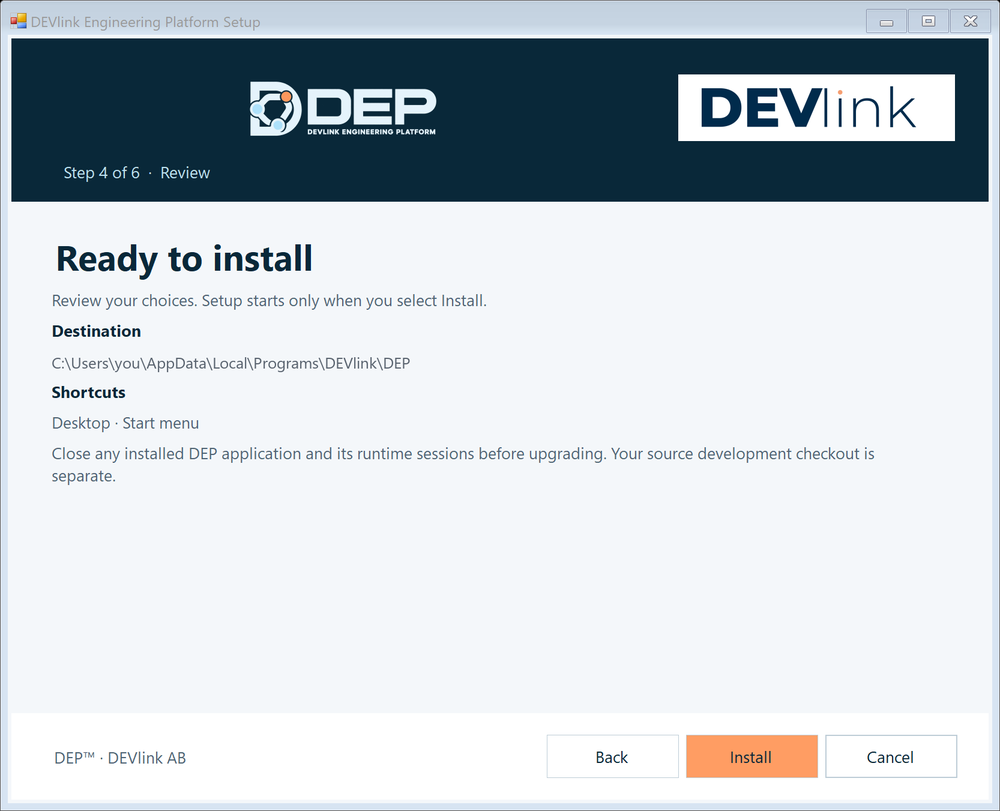
%LOCALAPPDATA%\Programs\DEVlink\DEP. Use Browse… to change it. The folder must be empty or contain an existing DEP installation. Choose whether to create a desktop shortcut and a Start menu shortcut. - ReviewCheck the destination and shortcuts, then select Install. Nothing is written before this point. Close any running DEP window first.
- InstallingFiles and shortcuts are prepared. This step cannot be cancelled.
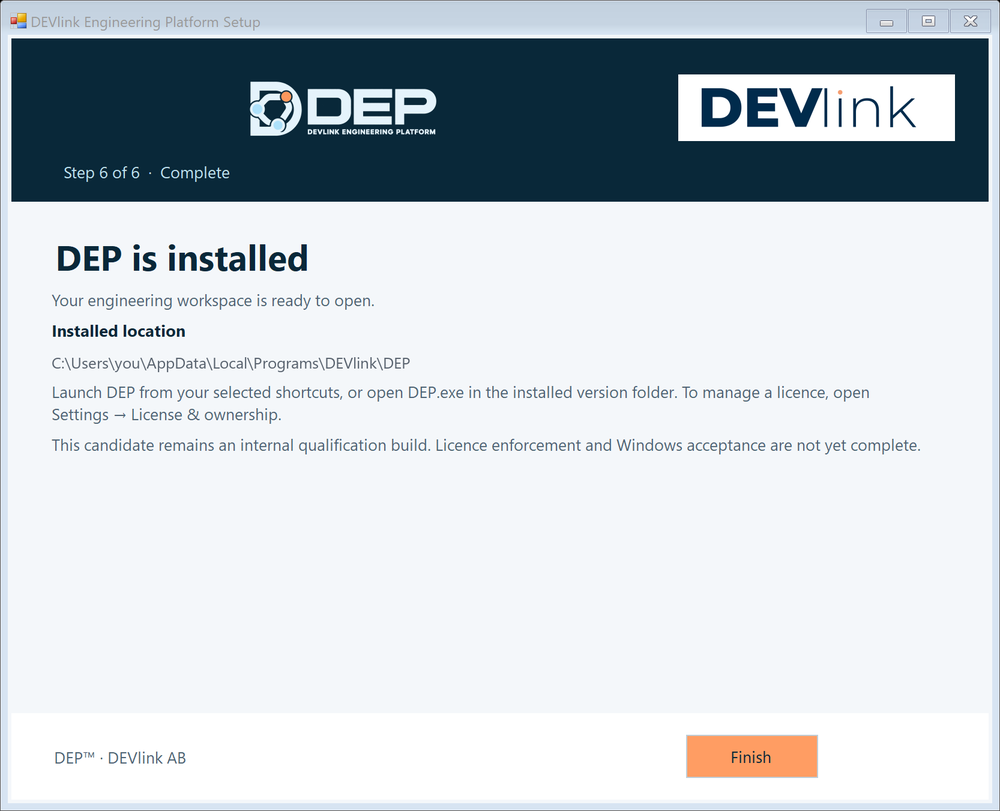
- CompleteShows the installed location. Select Finish.
If installation fails
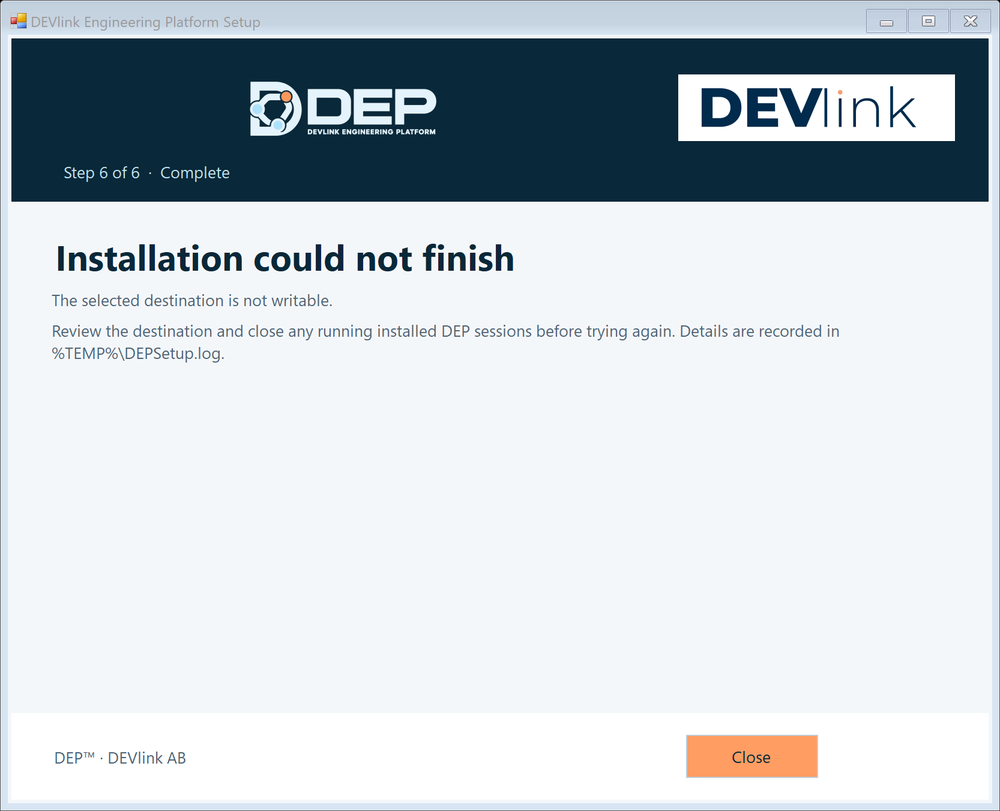
The most common causes are a destination folder that is not empty, a folder you cannot write to, or a DEP window or runtime process that is still running. Close DEP, check the folder and run setup again. Setup writes details to %TEMP%\DEPSetup.log. Attach this file if you contact support.
What setup installs
- The application
DEP.exein a version folder, for example%LOCALAPPDATA%\Programs\DEVlink\DEP\versions\<version>-…\. Each upgrade adds a new version folder, and earlier ones are kept until you uninstall. - The DEP runtime tools (FMI 2 and FMI 3 hosts, the model-exchange solver host, the vECU host, the physical-model and state-logic hosts and the FMU builder).
- 13 bundled example projects (nine starters, three authoring tutorials and the optional ChargeLink EVSE project) and their guides. See Starter Projects.
- Start menu and desktop shortcuts named DEP, and an entry in Settings → Apps with the publisher DEVlink AB.
LICENSE.txt,THIRD_PARTY_NOTICES.txt,SECURITY.mdandCHANGELOG.md.
Silent and scripted installation
IT departments can install without the wizard. Run the setup program with these switches:
| Switch | Effect |
|---|---|
/quiet | Install without showing the wizard. |
/dir=<path> | Install to this folder instead of the default. |
/launch | Start DEP when installation is complete. |
/preview | Walk through the wizard screens without installing anything. |
/uninstall | Remove the installed application (keeps your data). |
/removedata | Together with /uninstall: also delete your DEP settings in %APPDATA%\DEVlink\DEP. |
.\DEPSetup-<version>.exe /quiet /dir="D:\Tools\DEP" /launch3. Start DEP for the first time
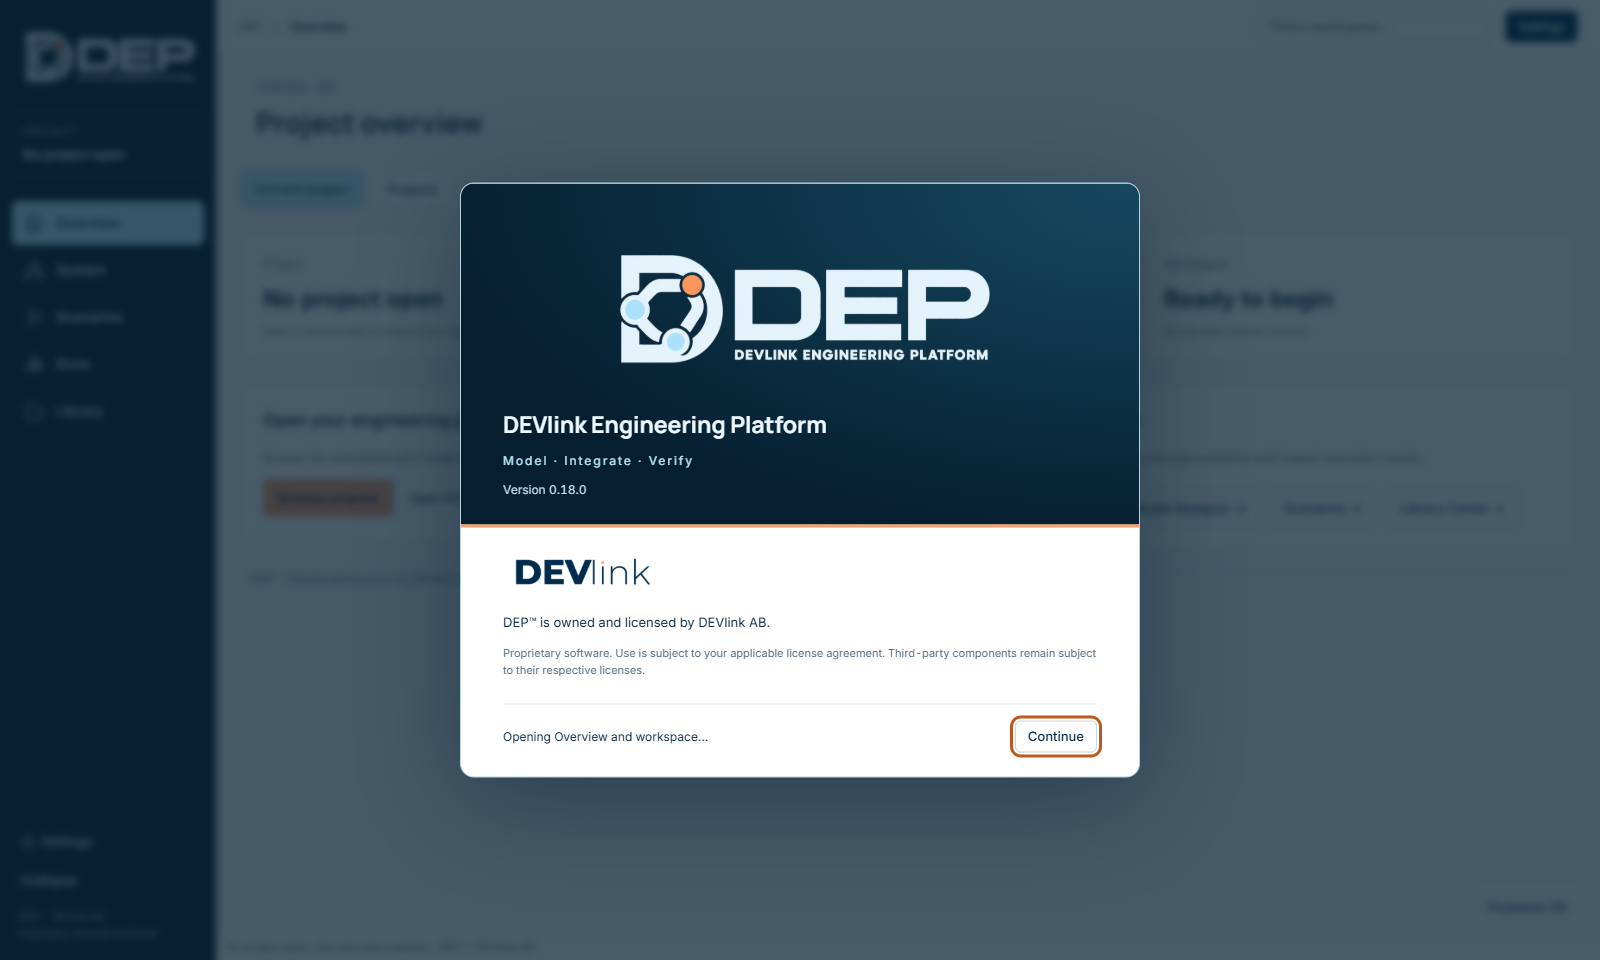
Start DEP from the Start menu or the desktop. A short splash screen shows the version while DEP loads its project services, then the Overview opens. The splash closes by itself. You can also press Continue or Esc.
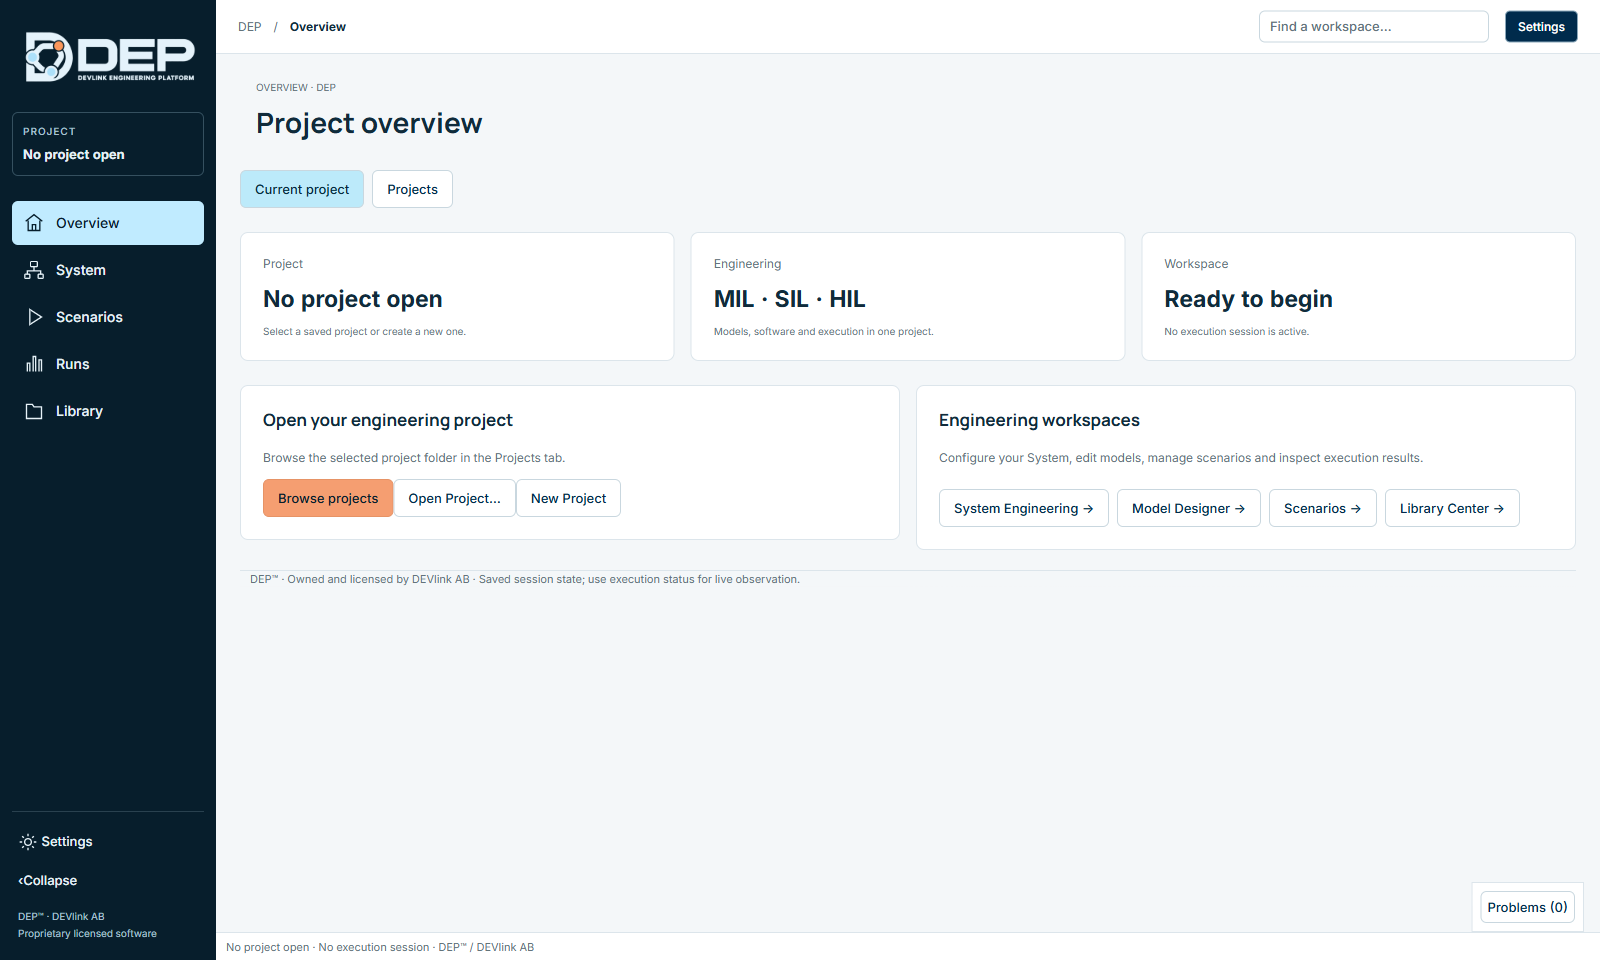
DEP opens with no project. Your next steps:
- Check your licence (next section).
- Open Projects on the Overview and open a starter project, or follow First Session.
- If you prefer the dark theme or a denser layout, open Settings → Appearance. See Settings Reference.
4. Activate your licence
- Open the licence pageSelect Settings (top right or bottom of the sidebar), then the License & ownership tab. Note your Machine ID.
- Save an activation requestSelect Save activation request… and save the
.jsonfile. It contains your Machine ID, not your projects. - Send it to DEVlinkE-mail the file to your DEVlink contact. DEVlink returns a signed licence file with the extension
.dlicthat is bound to this computer. - Install the licenceSelect Install licence… and choose the
.dlicfile (maximum 1 MB). The licence appears under Installed licences and its features under Resolved features.
No internet connection is needed. If the file is damaged, was changed or belongs to another computer, DEP rejects it and keeps your current licence. Your company may instead use a floating licence server or a USB licence key. Both are described in Licensing and Editions, together with the features in each edition.
Upgrading
- Close DEP and stop any session or runtime it started.
- Check and run the new setup program as above, using the same destination.
- The new version gets its own version folder. Your settings, licences, layouts and projects are kept.
Projects are upgraded when you open them in the new version. Keep a copy of important projects before opening them in a newer DEP, because an upgraded project may not open in an older version.
Uninstalling
Open Windows Settings → Apps → Installed apps, find DEP (publisher DEVlink AB) and select Uninstall. You can also run uninstall.exe in the installation folder.
- A normal uninstall removes the application and keeps your settings and licences in
%APPDATA%\DEVlink\DEP, so a later reinstall continues where you left off. - To also delete those settings, run the uninstaller with
/uninstall /removedata. - Your projects are never deleted. They live wherever you saved them.
The folders are described in Files, Folders and Data.